
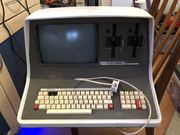
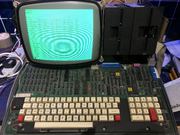
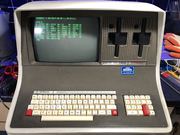
It works!
When I picked these machines up this one was dead, having a screaming noise coming from it as soon as it was
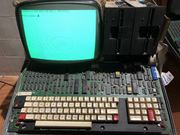
powered up. No other signs of life. Fortunately all models of SB shared the video board and flyback transformer so after a quick flyback
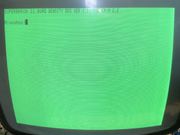
swap to eliminate that I changed the video board and the lovely Philips Engineering sample green screen came to life. See the SB1 writeup
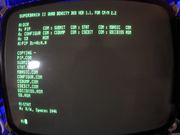
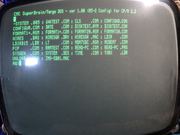
for how I dealt with the other board. This one would happily boot the only physical floppy I got, and also swapping in the Gotek got successful
booting from the various drive images. Almost a disappointment :) The screen was particularly wobbly though, so I ordered more replacement
caps for the smoothing side of the PSU to sort that out.
The floppy drives are bolted to their enclosure using a single hex bolt at the front, so they were easy to remove for
servicing. A good clean and some lithium grease on the head positioning rails followed by a head clean got some successful formatting out of both of
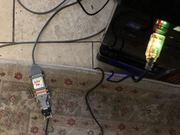
them so I disconnected the Gotek and concentrated on writing proper disks for this machine using my Floppy
imaging PC. Rather than mess around trying to make the Mitsubishi drive write disks for the Superbrain I just hooked up its own drive 1 and
writing the images I'd downloaded was a breeze - Imagedisk parameters set to
Drive A
70 sectors
Two sides
Double step off
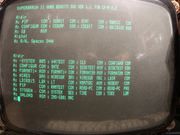
and the first disk I tried was a success. Writing out the images for ZORK and Wordstar was equally as painless so in a single evening I'd created enough disks to run several demos on the machine.
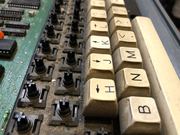
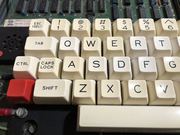
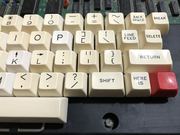
The final task was to remove all the keys and give them a good clean as well as get a toothbrush and some IPA on the
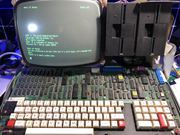
actual keyboard to remove the surprisingly little amount of stuff accumulated there. Ready to exhibit!
Pictures
 |  |  |  |
 |  |  |  |
 |  |  |  |
 |  |  |  |