
This Microtan was previously owned by my 2000-era webhost Kevan Heydon who also gave me a
load of other machines during a garage clearout. Thanks Kevan! This Microtan65 came with a standard 12 slot
backplane with pre-made slots for the CPU card, DOS card, TANEX ROM/RAM card and one RAM card by Ralph Allen who made expansion boards for a lot of machines back in the day.
Other cards with this bundle are homemade and were originally featured in Electronics Today International:
| ETI Sound card |
| ETI 64k dynamic RAM card |
I've never fired this one up so now that it's out of storage I definitely need to do that!
2018 Pictures
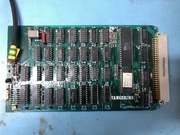 | 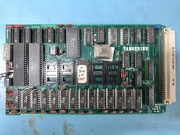 | 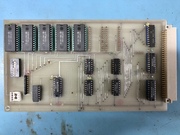 | 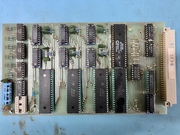 |
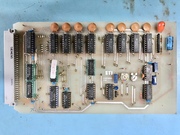 | 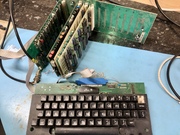 |  |  |
2025 Update
A lot has happened since I wrote that last sentence in 2018 when I got the machine out to take photos of the boards for Alan at microtan.ukpc.net.
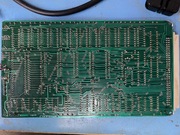
Moving house, being hospitalised with a serious medical condition and subsequent recovery, the usual. Earlier in the year I bought a bare reproduction TANDOS board and have slowly been building it up
using spare capacity in Digikey orders to buy parts for it. For those that don't know, Digikey the component sales people (and CPC, and Mouser) all offer free shipping over a certain order value. In
Digikey's case this is currently £33 so I'm always scratting around to 'fill up' an order to get the free shipping.
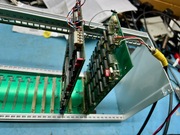
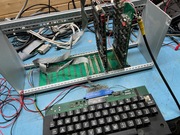
I'd slowly been building this machine into a nice rackmount case, so it was time to make sure it all worked before adding anything new. The backplane needs ALL the voltages -
+5/+12/-5/-12 and it so happened I had a handy Meanwell PSU that produced these so that was pressed into service. Since the Microtan CPU board didn't have the TV modulator present I quickly made up a
little harness to allow me to connect video to a composite monitor. To allow the CPU board to work on its own I fitted the 3 necessary links on the CPU board so it would boot. Without these links present
the CPU looks for external RAM/ROM on a TANEX board which I have, but I needed to make sure the CPU was OK.
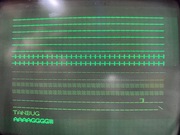
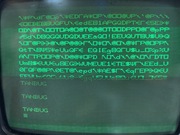
I got a TANBUG prompt on the monitor. Excellent. Remove the 3 links to restore external connectivity, plug in the TANEX board and... nothing. Blank screen. Huh. Voltages etc look
OK, but the TANEX seems dead. Looking at it with a thermal camera shows the 74LS244 buffers next to the backplane plug are warming up, as is a voltage regulator for the RS232 option on the board.
Everything else though, nah. Cue a lot of backplane tracing with an oscilloscope. The clock signals look wrong, and the address bus is dead. Is the backplane faulty? It's never been fully tested.
I know the PSU is good because I used it on my other Microtan at RetroFest last November in Cambridge.
Sanity check! The working Microtan was retrieved and put on the bench, and I swapped the TANEX boards. It was similarly dead. With a scope I measured the signals at the backplane
connections again. The Phi1 clock was being squashed by something. Checking the schematic shows this signal only goes to one chip - a 74LS74 flip-flop at L2, pin 3. The pin was showing a flat low voltage
clock, and /RESET next to it was also fluctuating, almost mirroring the signal. I have spares, so I swapped in a new LS74, same result. Use the same chip from the working TANEX? Same fault. Swap the
socket its in for a new one? Same fault. It's not that chip then.
Much head scratching.
Then someone on Bluesky suggested that a decoupling capacitor may have gone open resulting in a noisy power rail, so I checked and they were all good if a little overspec sometimes.
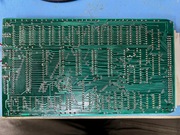
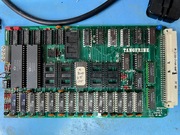
When I got to the main decoupler (a decoupler filters noise between a power rail and ground) I noticed its ground connection looked odd - it had been cut! I'd already seen that the board had had its
corners removed, presumably to fit in a case, but hadn't twigged the possible significance of this. Quickly checked the voltages on the LS74 using the 5V and GND pins (16 and 7) and sure enough - 700ma
which is a tad low. 🤬 Cutting the corners off had destroyed the ground plane... On the top of the board this was fine because while the 5V rail also went round the outside it started after the cut; this
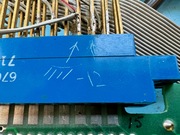
was largely hidden from view by the size of C3 which is a chonky blue tantalum. I scraped off some solder mask on the GND traces at both missing corners and soldered on some component legs to join them
together and... power restored!
I got a TANBUG prompt. 🎉
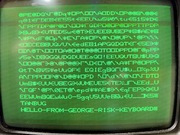
Keyboard next. I'd spent days deciding the keyboard I'd got with these boards wasn't for the Microtan because buzzing the pins out showed discrepancies between what the keyboard
socket on the CPU board was inspecting vs what the keyboard was putting out. In typical 'me' fashion I was half way through desoldering all the keys to redraw the schematic when I noticed 'Carter Model
756C' in tiny silkscreen lettering. One (1) search later showed this was an ASCII keyboard made for various Microtan=era machines under the George Risk name - I know these from their appearance in the
Transam Triton. The encoder on this board requires -12V to work, and that power wasn't available on the cable to the machine. Discounting the keyboard for now, the next step was to make a keyboard adapter
so I could use the ASCII keyboard from my other Microtan; fortunately this other machine already had an adapter cable to get the keyboard socket to its front panel, so all I had to do was copy it.
Buzzing out the connections I discovered a grey wire disappearing off underneath the other wires in the harness. Weird. Followed it to the PSU breakout connections and discovered
it was -12V! OK, so if the ASCII keyboard from my cased Microtan needs -12V and this George Risk keyboard needs -12V will it actually work? That's when I noticed some empty solder connections on the
keyboard plug - pins marked as '-12' and '////'. They were for an external PSU. It was simple to add power and ground to the Meanwell PSU, and it worked fine.
Next - the TANDOS board I'd built. It was added to the backplane but didn't produce the prompt I was expecting. The manual said it should prompt with '0>' to show it's ready to
read drive 0, but I just got the usual TANBUG block prompt meaning the operating system couldn't see the DOS card. One of the first steps in the manual was 'replace your TANBUG ROM with the TANBUG3 ROM
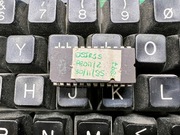
in this package.' Ah. Checking the EPROM in the CPU board showed we seemed to be using an OS called 'Osiris' according to the label? I could find zero reference to this - the lower half of the EPROM does
indeed contain something called 'Osiris V0.0' but the machine boots TANBUG1 from the upper half. No worries. I burned a new EPROM containing TANBUG3 and got the '0>' prompt at power up, excellent.
Only, I couldn't enter any commands - the RETURN key didn't work to input it. This was true with the TANDOS board or without, so it must be a TANEX issue.
My other machine was still out so I swapped its TANEX and changed the OS to be TANBUG3 on the CPU board. Same symptoms. Does the other TANEX work? Yes! The only difference between
the two boards was that the non-working one had an RS232 option installed so there must be an address conflict somewhere. Removed both chips that make up this option and the board was happy. Reassemble
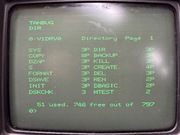
the other machine and add a Gotek containing a boot image, switch on and yay - a DIR command got me a directory listing of the disk. Happy days. Next step is to finish building the rackmount case.
2025 Pictures
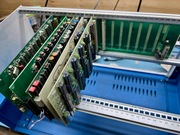 | 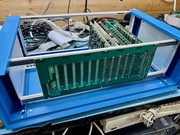 | 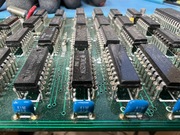 | 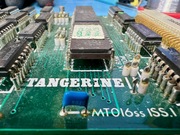 |
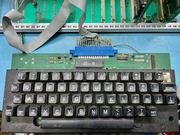 | 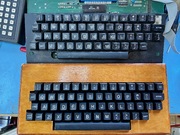 |  |  |
 |  |  |  |
 |  |  |  |
 |  |  |  |