
Screwdriver time
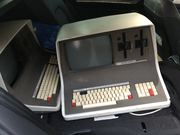
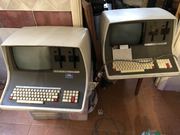
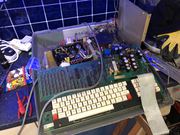
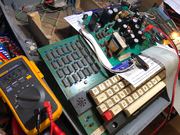
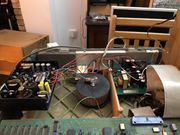
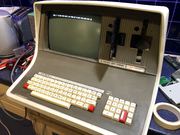
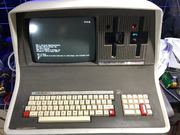
This machine came to me as basically a kit of parts, all dismantled so not only did I have to fix it but
also had to work out how to put it back together. The machines it came with were both Superbrain II QDs which have different PSUs
and interconnects so I couldn't use those as a reference. Also this machine had had an ACT Hard Drive controller fitted originally so there was an extra power supply
in the base. Its CRT module was also temporarily housed on my SBII because its video board screamed! I've heard failing capacitors
whistle before but this was a high-pitched scream.
Fortunately the whole CRT enclosure was built by a company called Elston who also happened to make the CRT module
for a terminal I'm very familiar with - the DEC VT100 - and the VT100's video board is identical to the Superbrain's, pretty much.
This meant I had a schematic, and after swapping the flyback transformer in from my SBII to double check that I could go through and
test the major components. Some postings on the VCFED and Stardot forums followed another repair attempt from a few years ago so
I could compare notes with those, and after swapping the dead horizontal transistor (BU406) I noticed a small capacitor sitting at a
strange angle next to the flyback connector. Removing that showed a burn at the base - this was the screamer. Replaced that and all was
well.
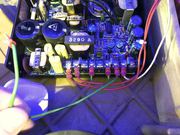
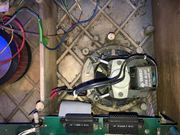
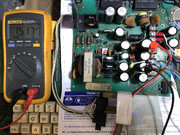
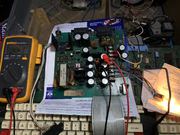
Next up was the PSU, and the strange thing with all Superbrains is they were only ever made with US spec
110V PSUs. All machines shipped to Europe had a socking great transformer installed to take our 220V down to 110V. Not much to go
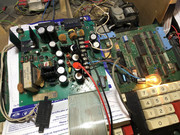
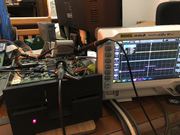
wrong there however. With some guidance from the boffins on Stardot I discovered the main switching
transistor (MJE13004) was dead. Swapped that for a new one and with a 12V car bulb as a load the 5V rail came to life. 12V itself was
over 15V though, and the video power rail was too high too, but I remembered the bulb I was using had 2 filaments so I hooked the 2nd one
up to the 12V rail and all was good. Replacement capacitors were ordered for the output side to smooth things out further.
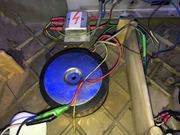
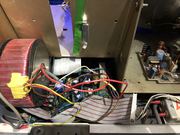
As an extra, because this machine had had a hard drive fitted there was an extra PSU floating around under the CRT
housing. This is made by a company called Sierracin and there's zero nothing zilch on the web about these apart from a lot of companies
who reckon they can fix them. Fortunately the original wires were still fastened to it so I could see which was 115V in and which was 12V
out, this would be ideal for running the floppy drive(s). Hooking it up in the same way as the system fan gave me an LED and a stable 12V
rail so I bolted it back to the underside of the CRT and was good to go.
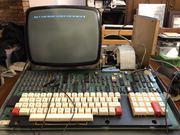
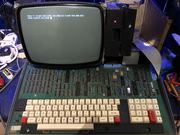
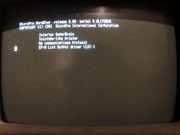
So far so good, I had a working CRT and a 'Press F to boot from floppy' prompt. At the time the only known
disk images were in Don Maslin's archive and a single bootable image on Dave "Imagedisk" Dunfield's site. These were quickly downloaded and
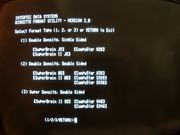
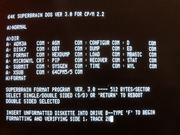
fed through the HxC Emulator to produce HFE images for one of my Gotek floppy drive replacements. Suddenly I had a booting machine but! All
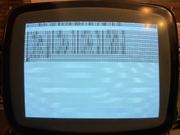
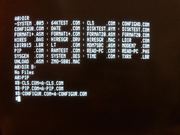
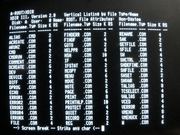
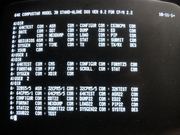
the images corrupted the screen which was flipped to inverse. Thankfully there's a utility on most images called NORMAL.COM which resets
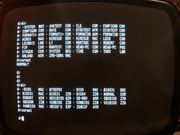
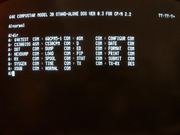
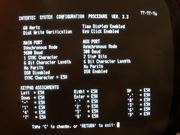
all screen attributes and I could see what I'm doing. Most images also have CONFIGUR.COM which lets you set the attributes of the main
and serial ports - baud rate, parity, stop bits etc.
File transfers was the next thing to tackle. Two things I always like to run on CP/M machines are the classic adventure
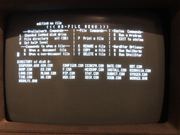
ZORK and Wordstar. My introduction to word processing back in 1981 was on a Research Machines 380Z using Wordstar and that menu layout
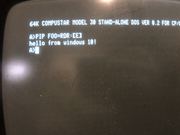
brings back SO many memories. After a prolonged battle with cpmtools/libdsk to try and read the Superbrain images I have I gave up and concentrated
on Kermit instead. That battle is detailed here. Flashfloppy firmware on the Gotek lets you copy and paste new versions
of disk images so you can create multiple empty images and write to them, very handy. Once I had ZORK copied over along with its support
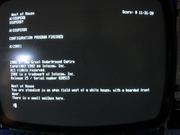
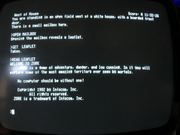
program to set up screen attributes etc I ran it and got the very welcome 'there is a mailbox here' greeting. Fortunately I wasn't eaten
by a grue.
Onto the picturefest!
Pictures
 |  |  |  |
 |  |  |  |
 |  |  |  |
 |  |  |  |
 |  |  |  |
 |  |  |  |
 |  |  |  |
 |  |  |  |
 |  |  |  |
 |  |  |  |
 |  |  |  |
 |  |  |  |